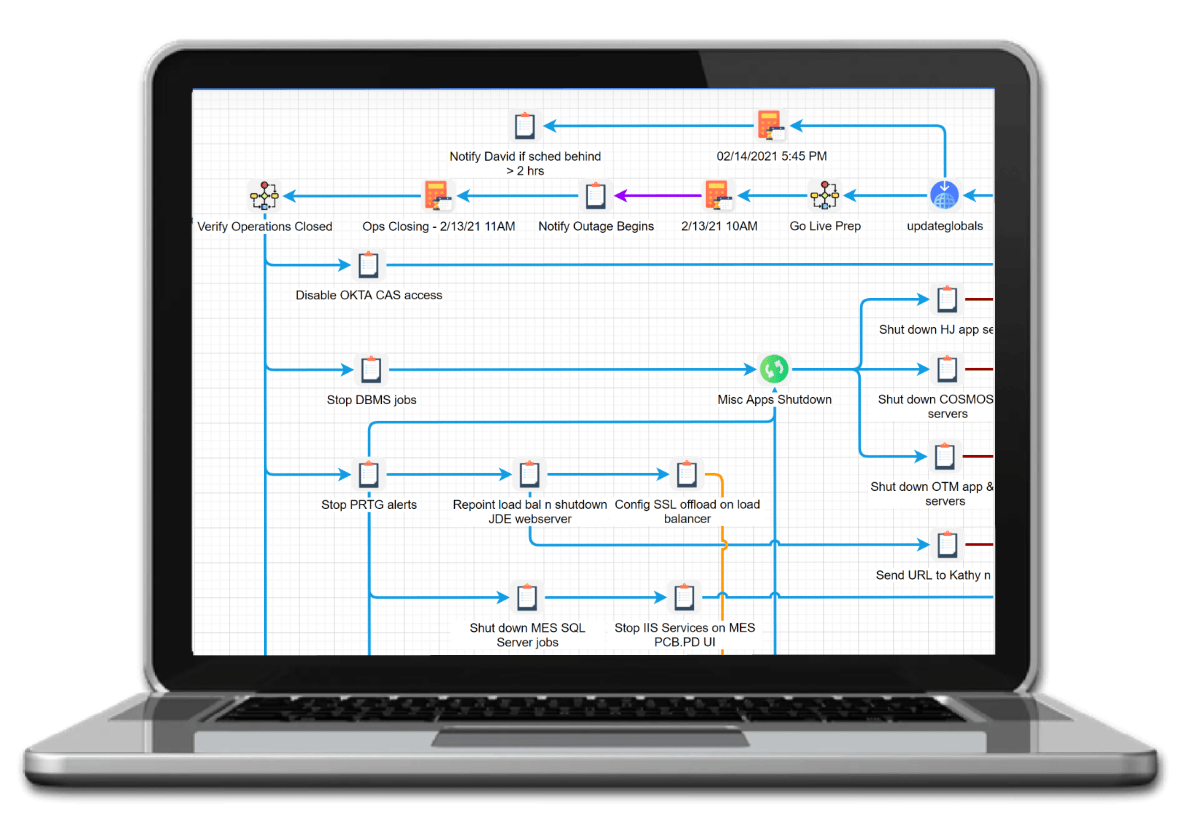
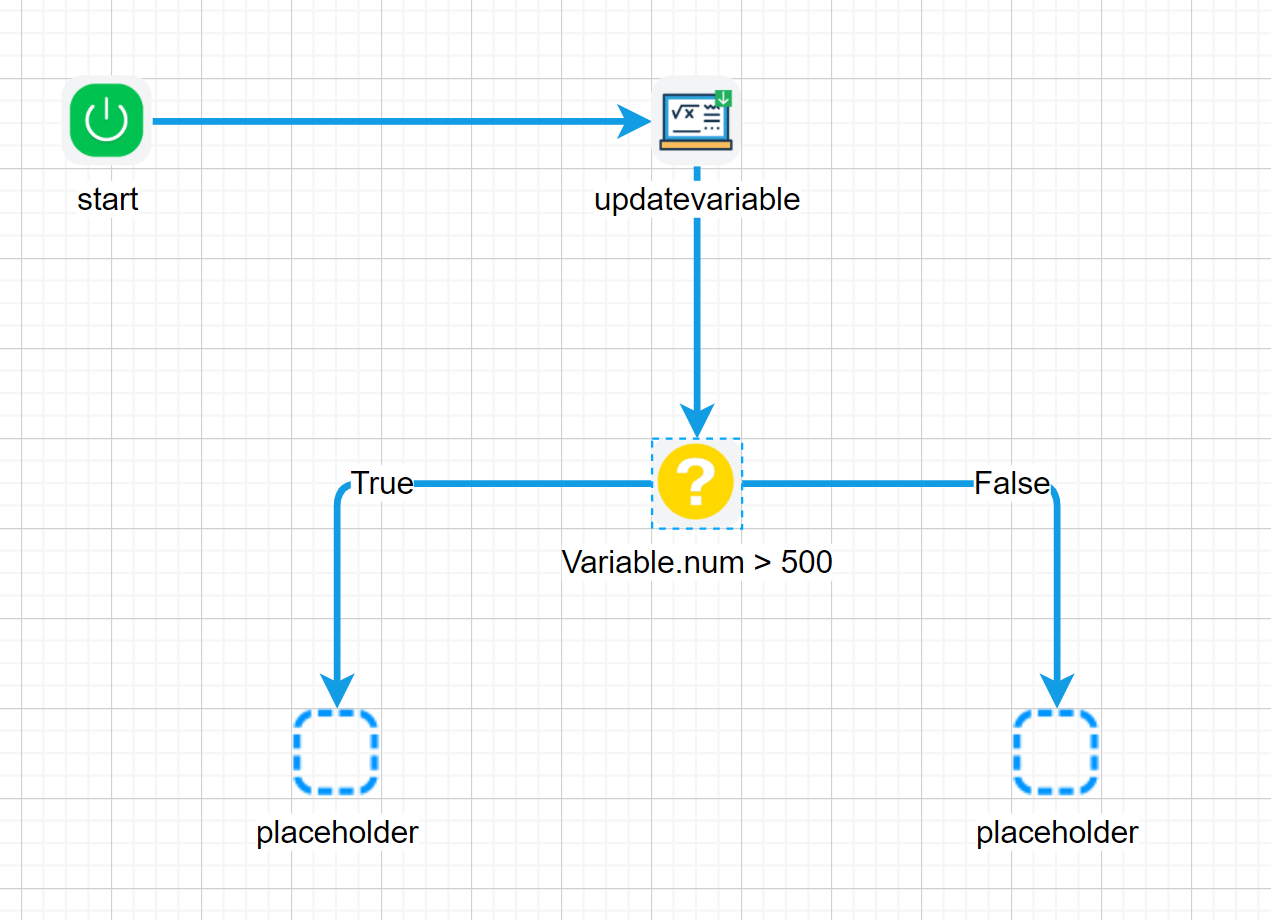
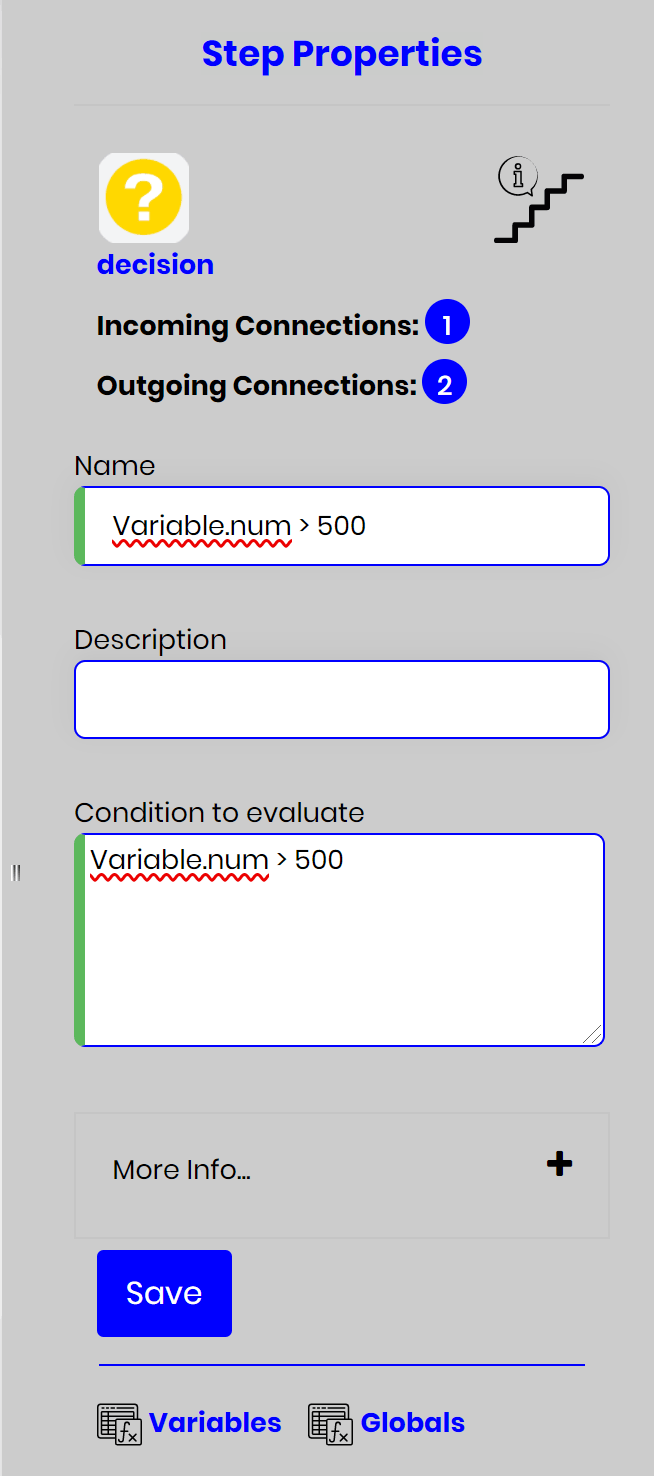
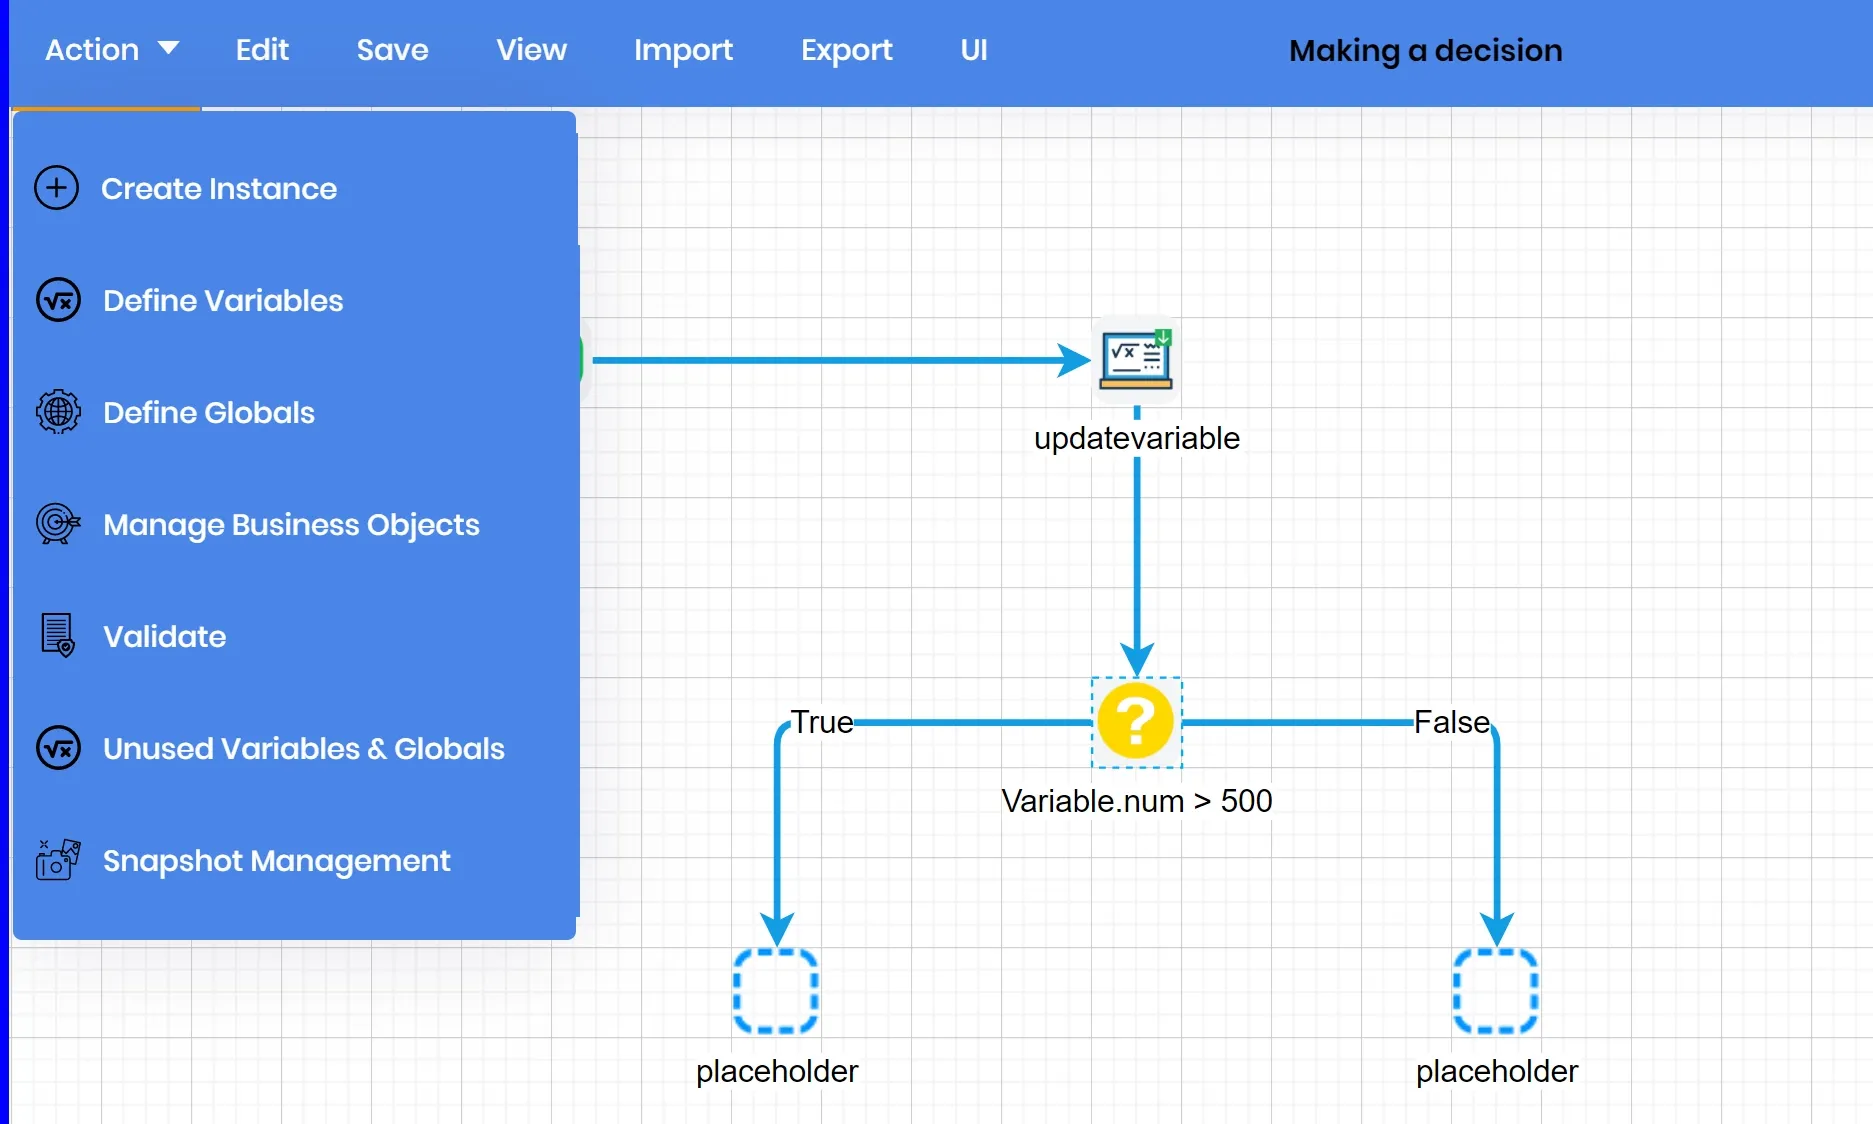
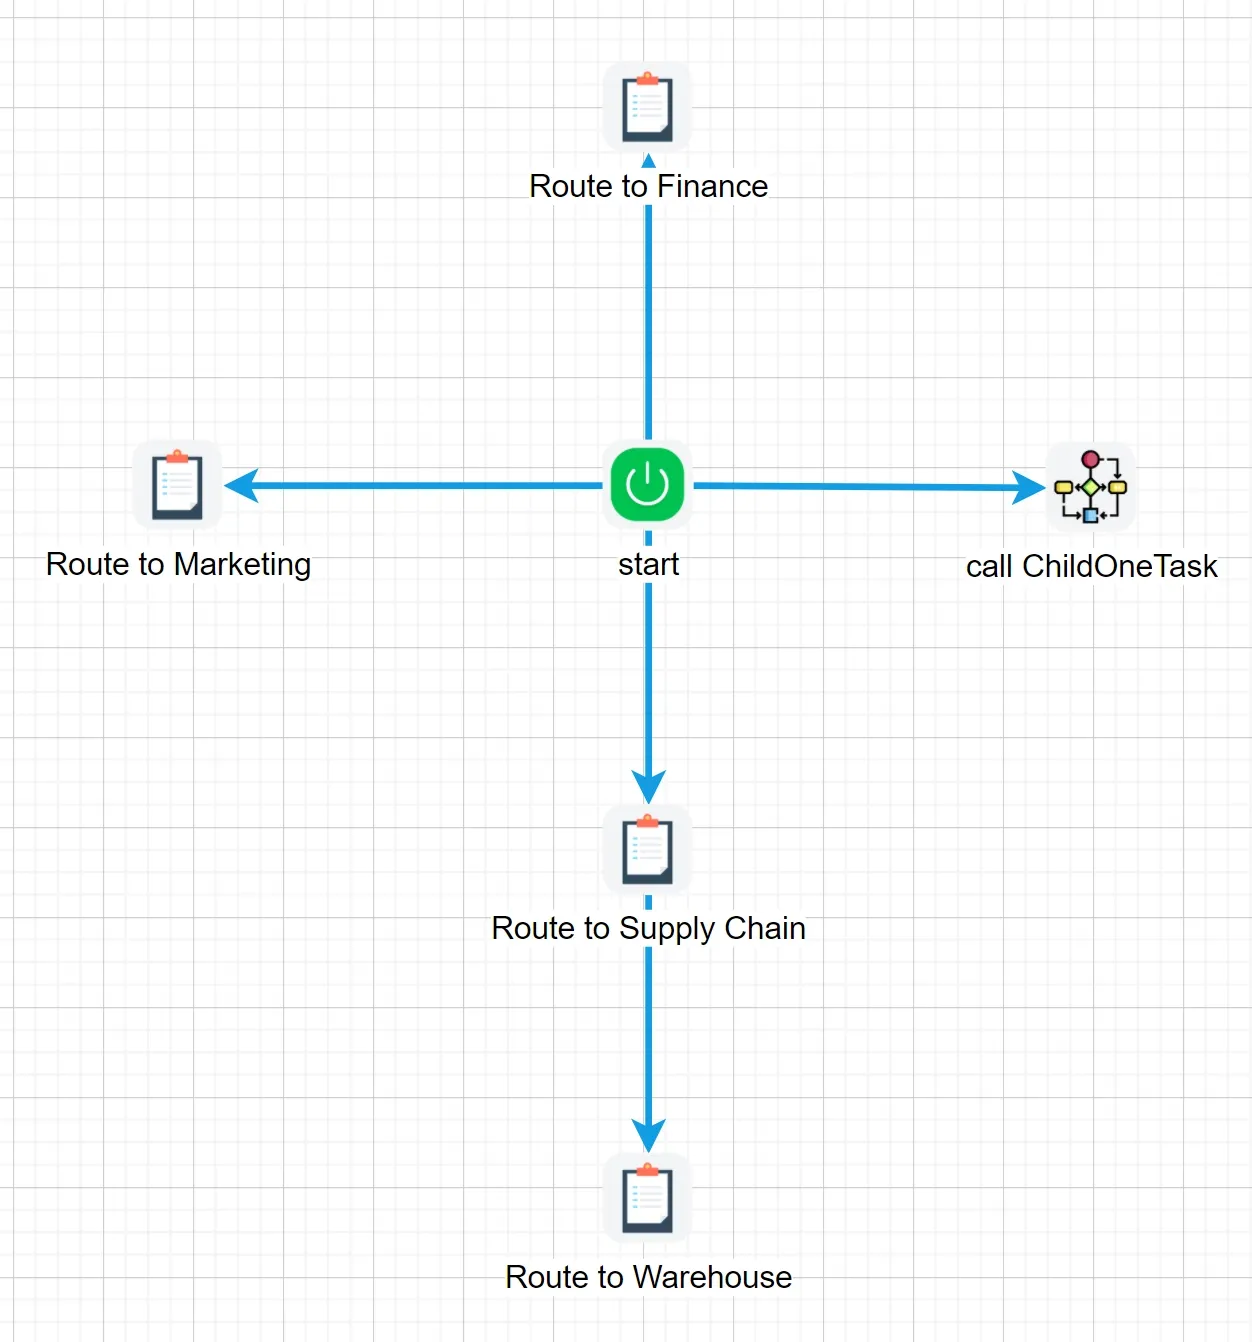
FlowWright provides a high performance HTML5 graphical workflow designer and cloud workflow designer to all users. FlowWright's workflow designer is built using latest HTML5 technologies in order to give the best performance to companies that implement our tool. The basic structure of the workflow designer is shown below:
HTML5 Graphical Workflow Designer
Graphical Workflow Designer
FlowWright's graphical workflow designer is similar to any other graphical development tool. The user interface for the designer is divided into logical partitions that are very similar to other tools, so there's no need to learn new skills to use the designer.
The toolbox has over 200+ Workflow Steps/actions that are provided out of the box. If we don't provide one, then build your own custom and step and configure it and use it. Just drag any step from the toolbox to the workflow designer canvas and start building your digital process. By default, the "Start" step is always there at the beginning.
Menu provides many designer overall functions, the menu functions are also divided into several logical groups. Based on the selections made on the menu, the properties window may display relevant user interface pages. When designing a process, always use the "Save" button to save the overall process back to FlowWright with the changes. Saving the workflow definition will also perform automated validation on the whole design of the process.
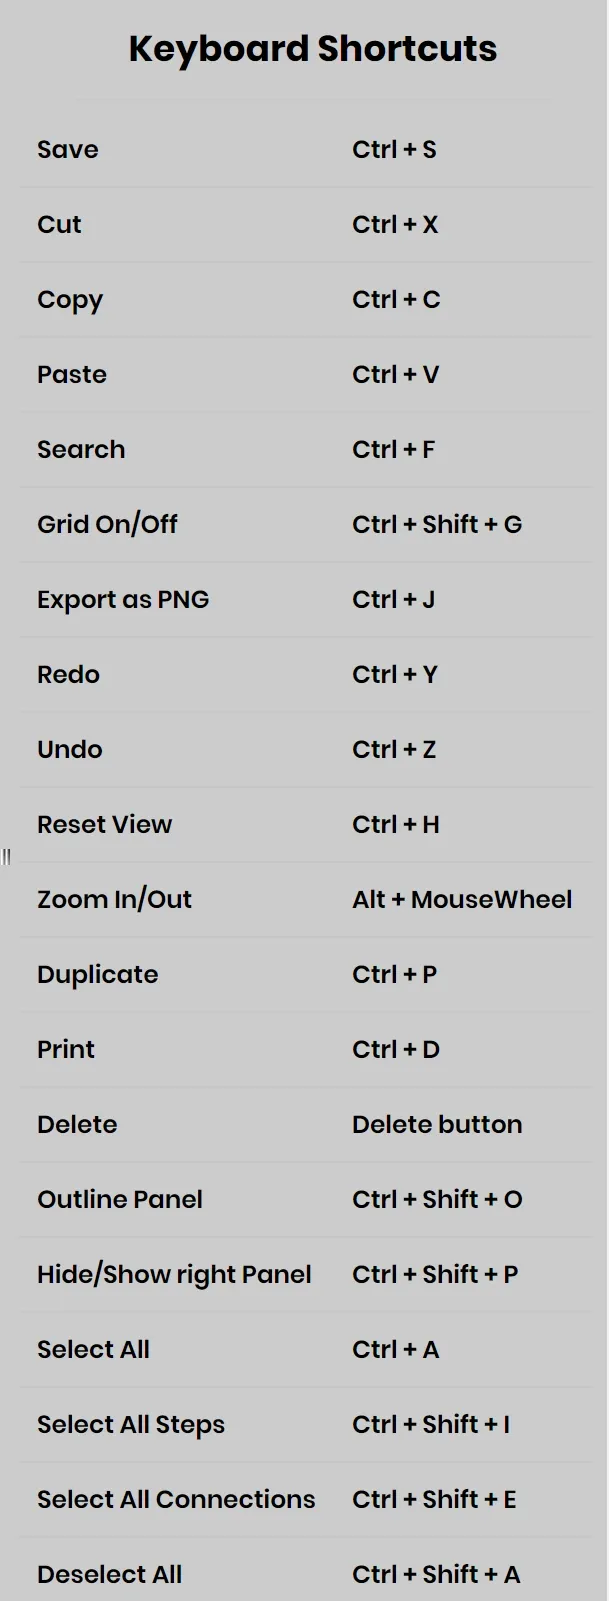
The graphical workflow designer is very simple to use and very intuitive. In addition to the functions provided on the toolbar, the designer also supports standard key strokes such as Ctrl + C to copy, Ctrl + P to paste, Ctrl + S to save, and more, refer to the Configuration Manager documentation for the supported key strokes.
Even though you are building processes within a web application running inside a web browser, FlowWright's graphical workflow designer is built for performance. This allows for users to process using just a few number of steps of 100s of steps; the designer is able to handle any process that you design. We also recommend following workflow/bpm best practices and building processes that are logical, easy to comprehend and reusable using sub-workflow processes.


